Walking a job site before ordering material is one of the most important habits a gutter contractor can build. A thorough assessment upfront means you show up with exactly what you need, fabricate with confidence, and finish without a mid-job trip back to the supply house. Done well, a site walkthrough takes 20 to 30 minutes and eliminates the variables that slow jobs down.
This guide covers what to look for, what to measure, and how to build an accurate material list before you ever load the truck.
Why the Walkthrough Comes First
Every structure is different. Rooflines vary in pitch, run length, and complexity. Fascia conditions differ. Downspout placement is constrained by grade, landscaping, and existing drainage. None of that shows up on a photo or a square footage estimate.
A contractor who walks the job before quoting or ordering knows exactly what they're installing. One who skips it finds out the hard way, usually mid-job, that a corner is tighter than expected, a downspout location won't drain away from the foundation, or the fascia needs work before gutters can go on.
The walkthrough is also when you identify anything that might affect your installation: rotted wood, missing drip edge, ice damage, improperly pitched existing gutters. Catching those conditions before the job starts means you address them on your terms, not under pressure.
The Tools You Need on Site
Keep a dedicated walkthrough kit in your vehicle:
- Measuring tape (100-foot minimum)
- Notepad or job sheet for sketching the roofline
- Phone or tablet for photos
- Level or pitch gauge
- Ladder for accessing fascia up close
Some contractors use digital measuring tools or estimating apps to speed up the process. Whatever your method, the output should be a complete sketch of the structure with all linear runs, corner types, and downspout locations marked.
Step 1: Walk the Full Perimeter
Before measuring anything, walk the entire structure and get oriented. Note the overall shape, count the corners, and identify where downspouts currently exist and where they make sense for the new installation.
Look at the grade around the foundation. Downspout placement should direct water away from the structure and toward a natural drainage path. If the grade works against a particular location, note it now.
Also check for any obstructions that will affect your run lengths or downspout placement: HVAC units, utility meters, hose bibs, walkways, or landscaping features close to the foundation.
.jpg)
Step 2: Measure Every Run
Measure each gutter run individually from corner to corner, or from corner to end cap location. Do not estimate based on the home's footprint or add them up from a blueprint unless you can verify on site. Buildings settle, additions get built, and blueprints don't always reflect what's actually there.
Record each run as a separate line on your job sheet, noting:
- Length in linear feet
- Start and end points (corner, end cap, or miter)
- Building height at that run (single-story vs. two-story)
Add your runs together for total linear footage, then add a few percent for fabrication waste. This total drives your coil order.
Step 3: Count and Identify All Corners
Every change in gutter direction requires a miter. Count each corner and record whether it's an inside or outside corner. A structure with bay windows, dormers, or additions may have more corners than a basic rectangular footprint suggests.
Miters come in several styles: strip miter, bay strip miter, box miter, and half-round miter. The profile you're running determines which style is correct. Strip miters and box miters are both used with K-style, and each installer tends to have a preference. What matters is that you account for every corner on your material list.
Spectra carries all miter styles in 5-inch, 6-inch, 7-inch, and 8-inch sizes, in standard gutter colors, galvalume, and copper to match whatever coil you're running.
Step 4: Determine Downspout Locations and Count
Downspout placement is one of the decisions with the most downstream impact, literally. Gutters that drain toward a concentrated discharge point at the wrong location create erosion, foundation moisture problems, and callbacks.
General guidelines for downspout spacing:
- One downspout per 30 to 40 linear feet of gutter run is a common starting point
- Long runs may warrant two downspouts to prevent overflow at the midpoint
- Outlets should be positioned at low points in the gutter pitch, not at the ends of a run that pitches away from them
For each downspout location, note the height from the outlet to grade. That determines how many 10-foot sections you need per run, plus the number of elbows required to offset from the wall and direct flow away from the foundation.
A standard downspout run typically requires two A-elbows at the top (to offset from the wall) and one B-elbow at the bottom (to direct flow outward). Complex walls or foundation profiles may need additional offsets.
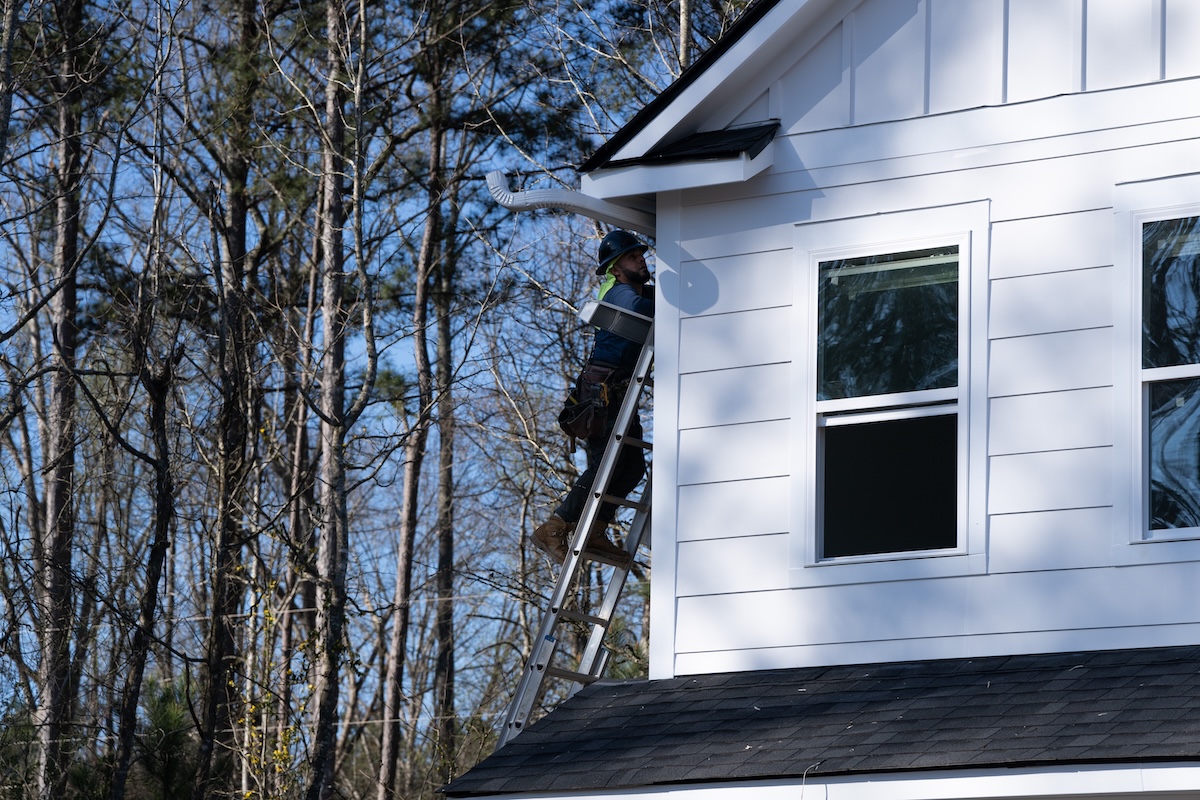
Step 5: Check the Fascia
Gutters are only as good as the surface they're attached to. While you're on the ladder measuring runs, inspect the fascia boards directly:
- Look for soft spots, rot, or delaminating material
- Check for paint that is peeling, bubbled, or missing in ways that suggest moisture intrusion
- Verify the fascia is plumb and straight, or note any sections that have cupped or warped
Fascia issues need to be resolved before installation. Hanging gutters over compromised wood leads to callbacks when the hanger screws pull out. Document what you find and address it with the customer before the job starts.
Step 6: Assess Drip Edge
Drip edge affects how the gutter sits against the fascia and where water enters the gutter versus running behind it. Check whether drip edge is present, what condition it's in, and whether its position will work with the gutter you're installing.
Missing or improperly installed drip edge is worth noting. Water that gets behind the gutter and onto the fascia will cause exactly the kind of rot that shortens a gutter system's service life and creates warranty disputes.
Step 7: Build Your Material List
With your measurements, corner counts, and downspout layout in hand, you can build a complete material list. A thorough takeoff includes:
Gutter coil -- total linear footage converted to pounds based on the gauge and width you're running, plus waste allowance
End caps -- left and right for each open run end
Miters -- inside and outside, in the correct style, one per corner
Outlets -- one per downspout location, in the correct size for your downspout profile
Downspout sections -- 10-foot sections per run, rounded up
Elbows -- A and B elbows per downspout run based on offset requirements
Hangers -- based on your spacing standard (typically 24 inches on center for K-style, tighter in snow country) and total linear footage
Sealant -- for all miters, end caps, and outlets
Screws and fasteners -- for downspout straps and attachment hardware
Gutter guards -- if applicable, based on total linear footage
Spectra's product line covers every item on that list. Coil in .027 and .032 aluminum for 5-inch and 6-inch residential work, with heavier gauges and larger widths for commercial applications. All components are available in TrueCoat colors with Sherwin-Williams coatings, so end caps, miters, and downspouts match the coil across the full color range.
Step 8: Photograph the Job
Before you leave the site, photograph every elevation of the structure, each corner detail, fascia conditions you noted, and any access or drainage concerns. Photos take 10 minutes and save hours if questions come up later, whether from the customer, a crew member who wasn't at the walkthrough, or your own notes that need context.
Putting It Into Practice
The contractors who build a reputation for clean, professional installations are usually the ones who are most systematic before the work starts. A job site assessment doesn't have to be complicated. It just has to be complete.
Consistent walkthroughs, a standardized material list format, and a reliable supply partner mean fewer surprises on the job and more consistent outcomes across your crews.
At Spectra Gutter Systems, our team can help you work through material takeoffs for complex jobs, verify coil yields for different gauges, and get you what you need with 38+ locations nationwide for contractor pickup or jobsite delivery.
Call us at 1-800-299-5305 or visit spectraguttersystems.com to find your nearest location.